

4.30.2010
4.28.2010
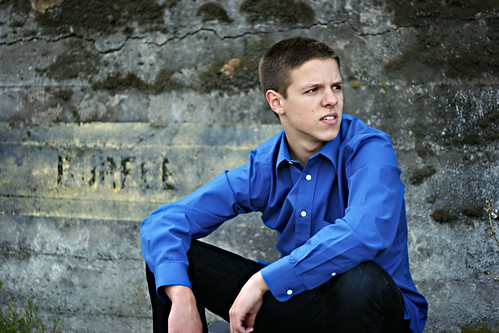
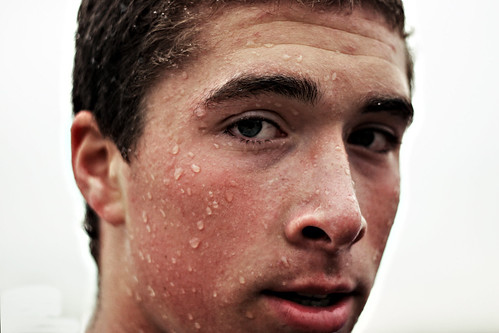
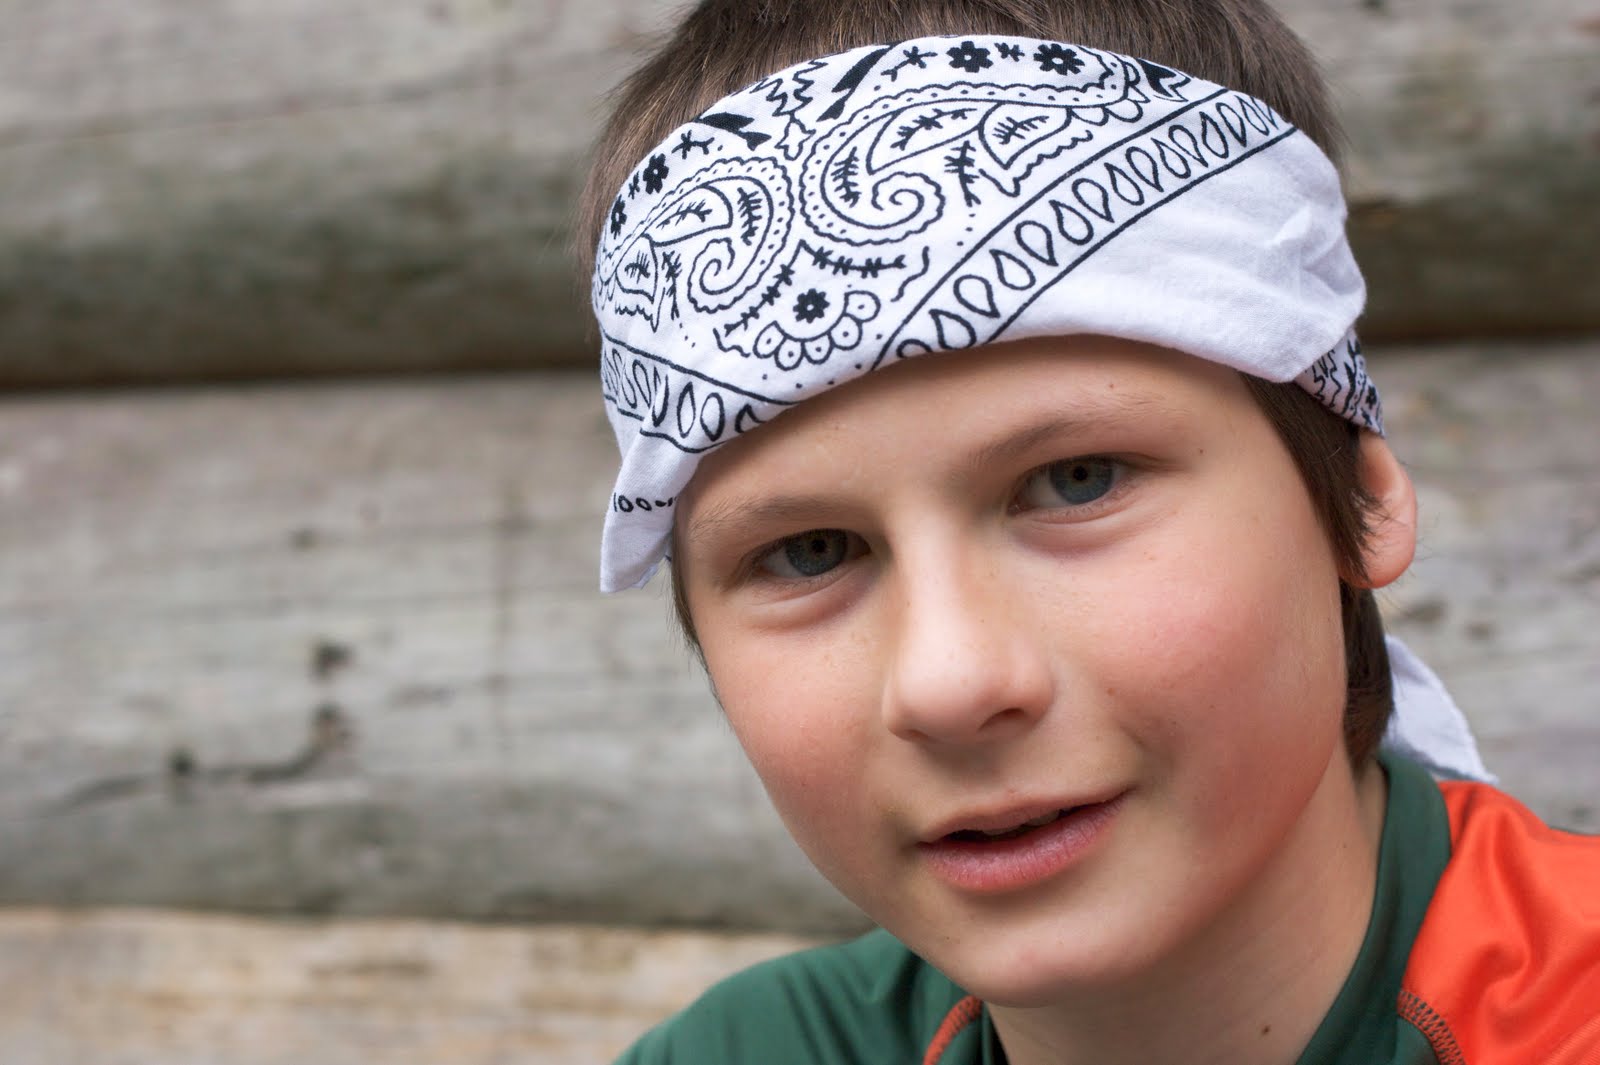
Tutorial #2: Basic Photo Correction
This tutorial is aimed at helping basic photo correction.
Notice: The tips in this post are not recommended for creative manipulation or editing, simply fixing or compensating for errors or camera deficiencies.
Creativity-oriented tutorials will follow this shortly,
1. After organizing your photos in iPhoto, drag the TBE album, or individual photos onto the Adobe Photoshop icon on your dock. This should both open Photoshop and the files. If not, open Photoshop, then: File>Open>Media>Photos>TBE, or CMD+O>Media>Photos>TBE.
2. Correct the exposure. Even if the photo seems perfect, at least try it out: Image>Adjustments>Exposure. The top slider, ‘Exposure’, should be pretty self-explanatory. You should not have to move it very much in either direction to get big results, so be careful, Mr. Sausage-fingers. ‘Gamma Correction’ is a fun tool to remove sun bleaching, but again, be careful. It can really alter your colors and contrast.
3. Adjust the curves: Image>Adjustment>Curves. The general rule for curves is an ‘S’ pattern. For RGB, Red, and Green, it is the norm to lower the left, hold the center at the center, and rise the right side. (and do the exact opposite for Blue). This rule is a very good start, but shouldn’t be as much a rule, as a suggestion. Certainly, the goal here is to make the photo look better, so if you have to, break the rule. Sometime you will have to lower the red completely, without raising it on either side, and maybe you won’t have to touch the green. However it is, pay attention to the photo over the rule.
4. If you are still having trouble with the color, go to Image>Adjustments>Channel Mixer. From here you can change the amount of output of each RGB. It is default to have every color put out 100%, but again, this is not as much a law as a suggestion. Do whatever looks right.
5. Image>Adjustment>Shadow/Highlight will bring out the darker out of the light and visa versa. This tool automatically puts highlight at 50; drop that down to about 5, and shadow to about 1 or 2. From here, play around with the sliders until you find something you like.
6. Adjust the levels: Image>Adjustment>Levels or CMD+L. Shifting the White slider left will lighten the photo; Black slider right will darken, and the Gray slider can do either to the middle-tones.
7. After all of these adjustments, you may have lost some of the photo’s original feel, so:
8. Image>Adjustments>Brightness/Contrast. Play around with these sliders to make up for sll of your edits that may have distorted photo’s feel.
9. Image>Adjustments>Hue/Saturation. Use the saturation bar to bring back some of the photo’s color and warmth. Avoid using the Hue or Lightness sliders.
10. Save your file. File>Save As. If you are doing a series of photos of one person or thing, open Finder and create a new Folder. Name it Photoshop, or Edited, or something to that effect, then drag to the left bar, under places. Make a new sub-folder within it for every photoshoot you do. Now when it asks you where to save the file, instead of going to documents, save it to that folder. To name the file, do something uniform, like first initial, last name, number of photo (i.e. f-last-3).
Tutorial #1: Organization w/ iPhoto
This tutorial will be the basics of photo organization on iPhoto.
Notice: iPhoto should ONLY BE USED FOR ORGANIZATION.
An Adobe Photoshop Tutorial will follow this shortly.
1. Plug the camera into your computer. Turn the camera on.
2. The computer should automatically recognize your camera and open iPhoto. If it doesn’t, do both of these steps manually (CMD+Space+’iPhoto’/enter) & (Finder > Devices > -camera-).
3. On the devices list, within iPhoto, select your camera. Devices: -camera-
4. Choose the photos from your camera you wish to download. If there are multiple photos of the same shot, choose two ore three in case one is out of focus. If you would rather, you can skip this step. (To select multiple photos in a sequence, select the first photo, then press and hold ‘shift’ and select the last photo in the series. To select multiple photos that are not together, hold ‘command’ as you click on the separate photos.)
5. Once all of the photos you want are highlighted, click on ‘Import Selected’. If you skipped step 5, click on ‘Import All’.
6. While the photos download, be sure to pour yourself a nice glass of Ocean Spray Cranberry Juice! [Tired of the Ads? Upgrade to PREMIUM PORTRAITURE!] (jk)
7. Now go to Recent: Last Import.
8. This part is time-consuming, and may seem useless, but someday you’ll appreciate the organization when looking for “That Photo”: Starting with broad topics (i.e. a road-trip), select all of the photos that would apply.
9. When all of the applicable photos (i.e. all of the photos from the said road-trip.) have been selected, go down to the plus sign in the bottom left corner of the iPhoto page and click on it. (that is where the button is on my version, though it may be different on different generations of iPhoto.) Or hit (CMD+N).
10. Name this Album appropriately (i.e. Road-Trip)
11. Repeat 9-11 as necessary. (Remember, you can never have too many albums)
12. Now open the first Album you created here (i.e. Road-Trip).
13. Choose more specific sets of photos. Now create individual albums for each one of these sets. (i.e. Road-Trip, Washington; Road-Trip, Oregon; Road-Trip, n.Cali; Road-Trip, s.Cali.)
14. Within each one of these sub-albums, create more. Continue to become more specific. (i.e. Road-Trip, n.Cali, Kelly’s Pub).
15. Repeat 15 indefinitely. In the end, one photo should end up in many different albums. (i.e. Road-Trip, n.Cali, Kelly’s Pub, Jake M., Flirting w/ Bartender).
16. Now open the next album and repeat 14-16. (i.e. if you created other albums in 9, go to those).
17. If you’ve done this, and still have energy, begin the creative part. Scan through the albums and create new themed albums. Most importantly, create a ‘TBE#’ (to-be-editted-‘number’).
18. When all is done and well, click and drag the whole TBE# album into the Photoshop icon on your dock to begin the next tutorial.
4.27.2010
4.26.2010


4.23.2010
Telegraph: Districts.
Will be gone for weekend.Don't expect posts.Districts in Washington.May bring camera.Don't know yet.Wish me luck.Love you.
4.22.2010


My Secret:
Is it weird that I have an entire folder on my computer devoted to pictures of cats?
Oh, and that its called 'KITTEH'?


4.20.2010
Them Thangs
Them Thangs is a blog I enjoy. Unfortunately, it is rarely updated. There has been a recent post, and the below pictures are a sample. WARNING: Though the pictures below are relatively innocent, the site is slightly NSFW.


About Me:
I am a dynamic figure, often seen scaling walls and crushing ice. I have been known to remodel train stations on my lunch breaks, making them more efficient in the area of heat retention. I translate ethnic slurs for Cuban refugees, I write award-winning operas, I manage time efficiently. Occasionally, I tread water for three days in a row.
I woo women with my sensuous and godlike trombone playing, I can pilot bicycles up severe inclines with unflagging speed, and I cook Thirty-Minute Brownies in twenty minutes. I am an expert in stucco, a veteran in love, and an outlaw in Peru.
Using only a hoe and a large glass of water, I once single-handedly defended a small village in the Amazon Basin from a horde of ferocious army ants. I play bluegrass cello, I was scouted by the Mets, I am the subject of numerous documentaries. When I'm bored, I build large suspension bridges in my yard.
I enjoy urban hang gliding. On Wednesdays, after school, I repair electrical appliances free of charge.
I am an abstract artist, a concrete analyst, and a ruthless bookie. Critics worldwide swoon over my original line of corduroy evening wear. I don't perspire. I am a private citizen, yet I receive fan mail. I have been caller number nine and have won the weekend passes. Last summer I toured New Jersey with a travelling centrifugal-force demonstration. I bat .400. My deft floral arrangements have earned me fame in international botany circles. Children trust me.
I can hurl tennis rackets at small moving objects with deadly accuracy. I once read Paradise Lost, Moby Dick, and David Copperfield in one day and still had time to refurbish an entire dining room that evening. I know the exact location of every food item in the supermarket. I have performed several covert operations for the CIA. I sleep once a week; when I do sleep, I sleep in a chair. While on vacation in Canada, I successfully negotiated with a group of terrorists who had seized a small bakery. The laws of physics do not apply to me.
I balance, I weave, I dodge, I frolic, and my bills are all paid. On weekends, to let off steam, I participate in full-contact origami. Years ago I discovered the meaning of life but forgot to write it down. I have made extraordinary four course meals using only a mouli and a toaster oven. I breed prize winning clams. I have won bullfights in San Juan, cliff-diving competitions in Sri Lanka, and spelling bees at the Kremlin. I have played Hamlet, I have performed open-heart surgery, and I have spoken with Elvis.


4.18.2010


Subscribe to:
Comments (Atom)